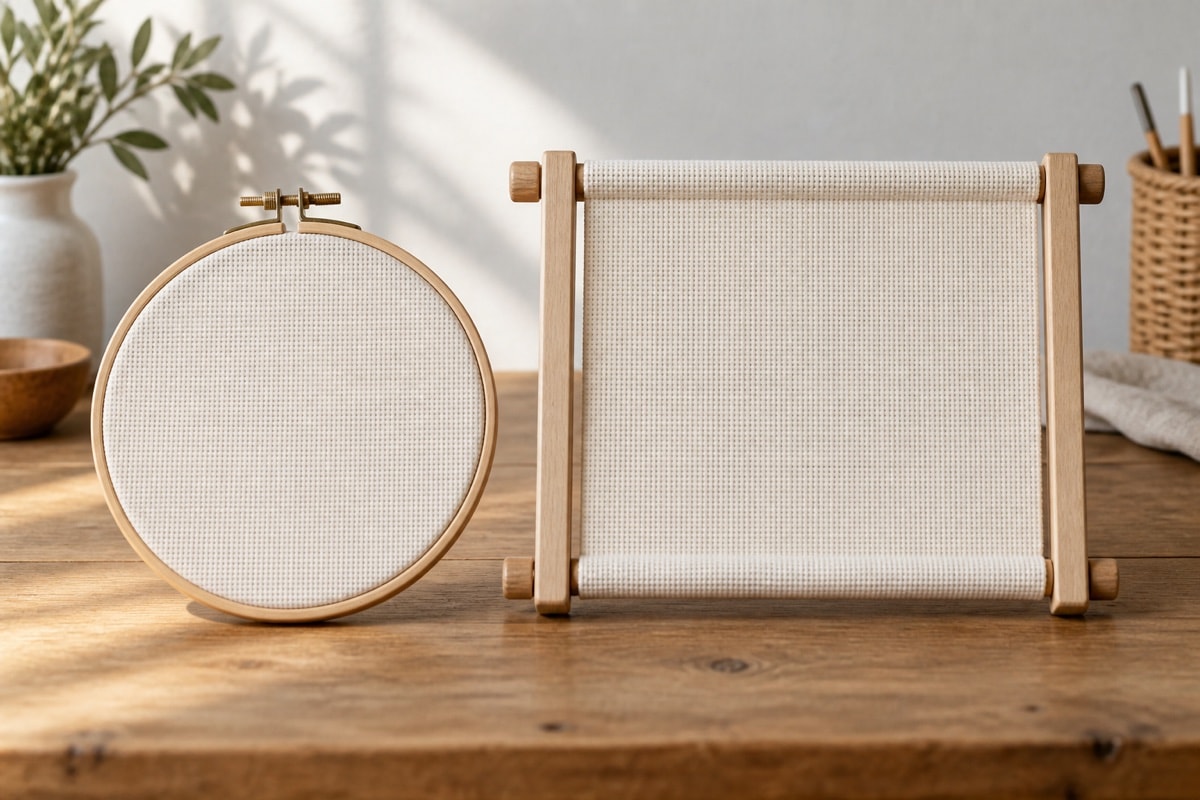
A hoop or frame supports the fabric while the needle passes through it. The support should make the grid easy to see and keep the work steady, but it should not stretch the weave out of shape. Even stitch tension comes from repeated, moderate movements rather than from pulling every strand as tight as possible.
Choose support by project and habit
A round hoop is compact and lets the stitcher reposition a small area quickly. A rectangular frame can expose a wider working field and may reduce the need to move already stitched sections under a rim. Hoopless work is also possible on some firm fabrics, particularly when the fabric can be held without bunching. The choice is practical rather than absolute.
Consider the size of the cut, the density of stitching and where the work will rest between sessions. A support that feels balanced at the worktable is more useful than one chosen only because it is larger. The comfort guide discusses working distance, tool support and grip.
Set fabric in a hoop
Place the inner ring on a clean flat surface, lay the fabric over it and press the outer ring down evenly. Tighten the fastener a little at a time while smoothing the fabric from opposite sides. Align the fabric grid with the ring as closely as practical so the weave is not pulled diagonally.
The surface should feel firm, not drum-tight. Press lightly near the center: the cloth may yield slightly and return without remaining dented. If the holes look enlarged or the outer threads bow, release the ring and reset it with less pull.
Use a frame without skewing the weave
Attach the top and bottom edges square to the rollers or bars, then tension both sides evenly. Check that a horizontal fabric thread remains horizontal across the working area. Side tension can help stabilize a wide piece, but unequal side pull produces a trapezoid rather than a rectangle.
Roll only clean, dry fabric and place a plain protective layer between exposed stitching and any surface that touches it. Avoid crushing raised stitches or knots against a hard bar for long periods.
Recognize balanced stitch tension
A balanced cross rests on the surface with its legs full and smooth. The needle holes stay their original size, the cloth lies flat when released and adjacent stitches occupy comparable space. A stitch that is too tight narrows the floss and pulls the four corners inward. A stitch that is too loose may sit above the cloth or catch on the next pass.
Draw the working thread until the leg settles, then stop. Let the support hold the ground steady. If every stitch needs a strong pull, check whether the floss is twisted, the needle is too small or the fabric has been overstretched.
Move a hoop carefully
Loosen the outer ring fully before repositioning it; do not drag a tightened hoop across the fabric. When possible, keep dense stitching away from the ring edge. If a stitched area must sit under the hoop, place a clean protective cloth over it and tighten only enough to work.
Remove or loosen the hoop between long pauses so the rim does not leave a persistent crease. At the next session, inspect the grid and reset the tension rather than assuming it has remained unchanged.
After releasing a piece from its hoop, lay it on a clean cloth with the stitched face upward. Keep the loose rings beside it rather than underneath, where their edges could press into the fabric. If the piece must be folded for storage, fold through an unstitched margin and avoid stacking tools on top. A larger piece can rest in a loose roll with a plain cloth between layers.
Before remounting, look across the fabric grid in both directions. A shallow ring mark and a skewed row are different observations; tightening the hoop is not a way to erase either. Center the next working area with room for the needle to pass, then check the weave again after the fastener is set.
Correct puckering early
Stop after a small section and release the fabric from its support. If the stitched area draws inward, ease the newest stitches with the needle tip and reduce tension on the next row. Also check for long carried threads on the back; a tight carry can gather several squares at once.
Consistent strand preparation matters too. Review floss, strands and coverage if stitches appear corded or uneven. The goal is a fabric grid that remains square after the support is removed and a surface that looks calm from ordinary viewing distance.