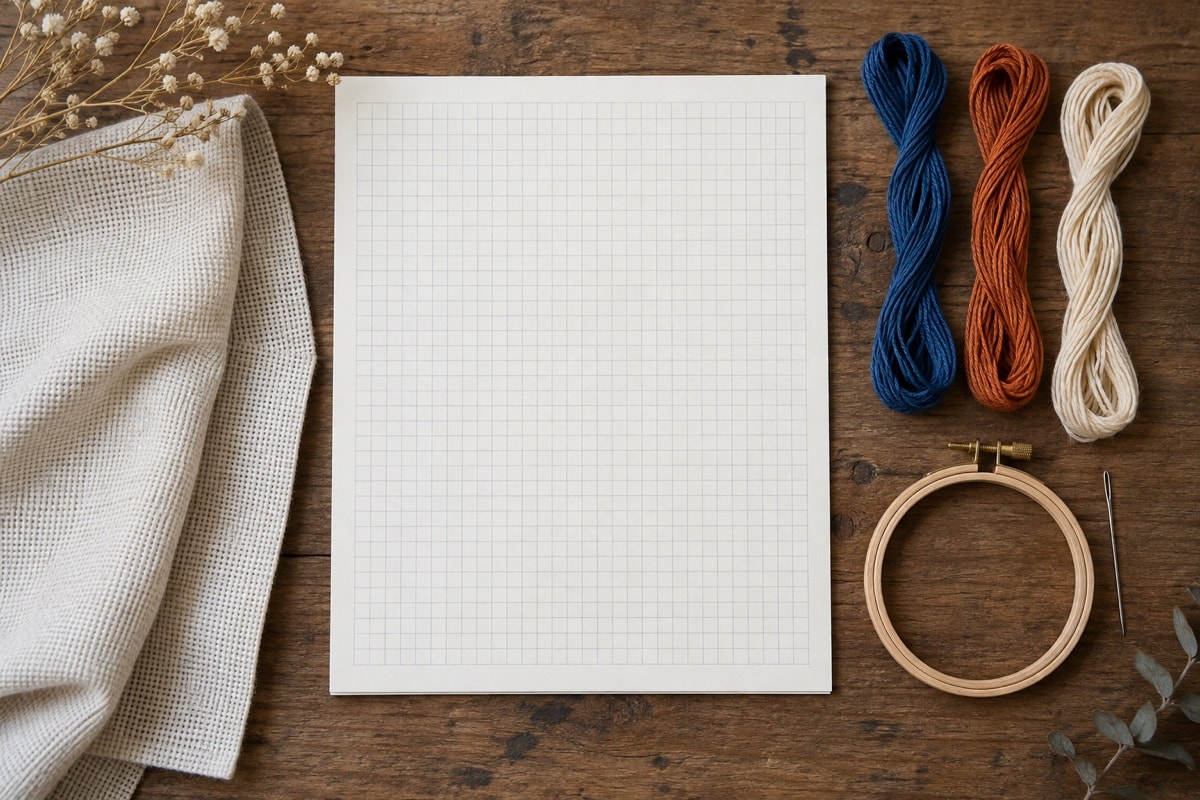
A counted cross-stitch chart is a map, not a picture of every movement the needle will make. Its grid corresponds to the fabric, its symbols identify colors, and its heavier lines help the eye count longer distances. Once those parts are understood, a blank grid becomes a useful place to plan a small original motif rather than a puzzle to decode.
The publisher once offered a library of free charts for beginners. This guide serves the same beginner audience with original instruction for reading a chart and planning a first piece from scratch.
Match chart squares to the fabric
One square on a standard chart normally represents one full cross stitch. On blockweave fabric, the needle travels through the four holes around one visible block. On evenweave or linen, a design may be worked over two fabric threads, so one chart square spans two threads horizontally and two vertically. Confirm that relationship before counting a margin or estimating finished size.
Bold lines often divide the chart into blocks of ten squares. Use them as checkpoints, but count the actual small squares between positions. A run that crosses a bold line is still one continuous row. Lightly identifying matching ten-square intervals on the fabric can help with a large field, provided the marking method is removable and tested on a spare edge first.
Count a gap as carefully as a stitched run. If two motifs have three empty squares between them, mark those squares on the planning grid; the gap belongs to the layout even though it has no floss symbol. Measure from the edge of one occupied square to the next, keeping holes and squares distinct. For long counting sessions on fine fabric, review arranging the worktable for comfortable stitching before settling into the first row.
Read symbols through the key
A symbol has meaning only through its key. The key pairs each mark with a generic floss description or number and may also specify how many strands to use. Two similar colors must still receive different symbols. When planning an original motif, choose marks that are easy to tell apart at a glance: a circle and a triangle are more useful together than two tiny variations of the same shape.
- List each intended color once.
- Assign a distinct symbol to each color.
- Fill the chosen squares on the grid.
- Check every filled square against the key.
- Add separate line notation only if the motif uses outlining.
Keep the first key short. Three colors are enough to learn how a chart works, and an unstitched square can provide the background. A simple key also makes counting mistakes easier to spot.
Check similar symbols by shape rather than by the color printed behind them. A filled circle and an open circle can blur together on a small chart, so inspect their entries in the key before sorting the floss. Read any note about outlines separately: a line drawn across several squares is not necessarily a row of full crosses. Keep a short pencil note of that distinction beside the practice grid.
Find chart and fabric centers
Center arrows are usually placed at the top and side of a chart. Follow each arrow inward; where their imaginary lines cross is the chart center. If the design has an even number of squares, the center may fall between squares. The fabric center is found by folding the cut piece gently in half in one direction and then the other, making a temporary finger crease without pressing a hard fold.
Starting at the center is helpful when the margins are equal and the design grows in several directions. A narrow border or band may be easier to begin at a measured corner. Either approach works when the fabric has been cut with adequate margins and the starting point is checked twice.
Calculate finished size before stitching
Finished size is based on stitch count divided by fabric count. A motif 42 stitches wide on 14-count fabric will be 3 inches wide because 42 divided by 14 equals 3. If a 28-count evenweave is worked over two threads, treat it as 14 stitches per inch. For a design 60 stitches high at 15 stitches per inch, divide 60 by 15 to get 4 inches.
Add finishing margins after calculating the stitched area. The extra fabric belongs outside the design; it does not change the design's stitch count. The detailed fabric count and finished size guide provides a reusable worksheet and explains how rounding affects a cut.
Plan a first small motif
Begin with a rectangle no larger than 21 squares wide by 21 squares high. Draw a vertical and horizontal center line. Place one simple geometric unit in a quadrant, such as a stepped diamond made from single squares, then reflect its positions across the center lines. Reflection teaches counting because each square gains a partner at an equal distance from the center.
Do not copy a published figure. Build from basic geometry: single squares, short bars, stair steps, diamonds and chevrons. Leave open space between units so the fabric remains part of the composition. After filling the grid, count the occupied width and height rather than the full paper rectangle; those occupied dimensions determine the stitched size.
Add a border and turn the corner
A beginner border can repeat a unit every three or four squares. Plot one side first, mark the exact midpoint and then work toward both ends on paper. At the corner, decide whether the final unit will turn, mirror or stop before a plain corner square. Testing the corner on the grid prevents an awkward half-unit later. The borders and corner turns guide explores these choices in detail.
Draft a small alphabet carefully
Lettering is another form of grid design. For practice, reserve a rectangle of equal height for every letter, set a one-square baseline and keep at least one blank column between characters. Build each letter from verticals, horizontals and stair-step diagonals. A small alphabet should be tested as a whole because letters with wide shapes need different spacing from narrow ones. Treat the result as an original construction exercise, not as a tracing exercise.
Test a repeating motif
A repeat consists of the unit plus its spacing. If a unit is five squares wide and needs two blank squares before the next unit, the repeat interval is seven. Mark positions at 0, 7, 14 and 21 on a practice grid. When the repeat must fit a fixed width, subtract the end margins first, then see how many full intervals fit. Adjust spacing on paper rather than forcing a partial repeat in fabric.
Move from chart to cloth
Prepare the fabric edges, sort short working lengths of floss and begin with the center or measured corner chosen during planning. Stitch a small area, then compare its position to two nearby grid lines. Count from more than one direction whenever possible. Consistent checks are quicker than removing a long misplaced row.
Before crossing from one chart sheet to another, find a bold grid line or a small group of symbols that appears on both. Some charts repeat an edge strip to show the join. Count that strip once, then continue with the new squares beyond it. Note the last completed row on each sheet so an overlapping strip cannot be mistaken for fresh work. If no overlap is shown, match the row and column labels instead and check the join against the design's full width.
For the needle movements themselves, continue to How to Cross Stitch. For thread handling, see Starting and Finishing Threads Neatly. The aim of a first motif is not complexity; it is a clear path from square, to symbol, to stitch.