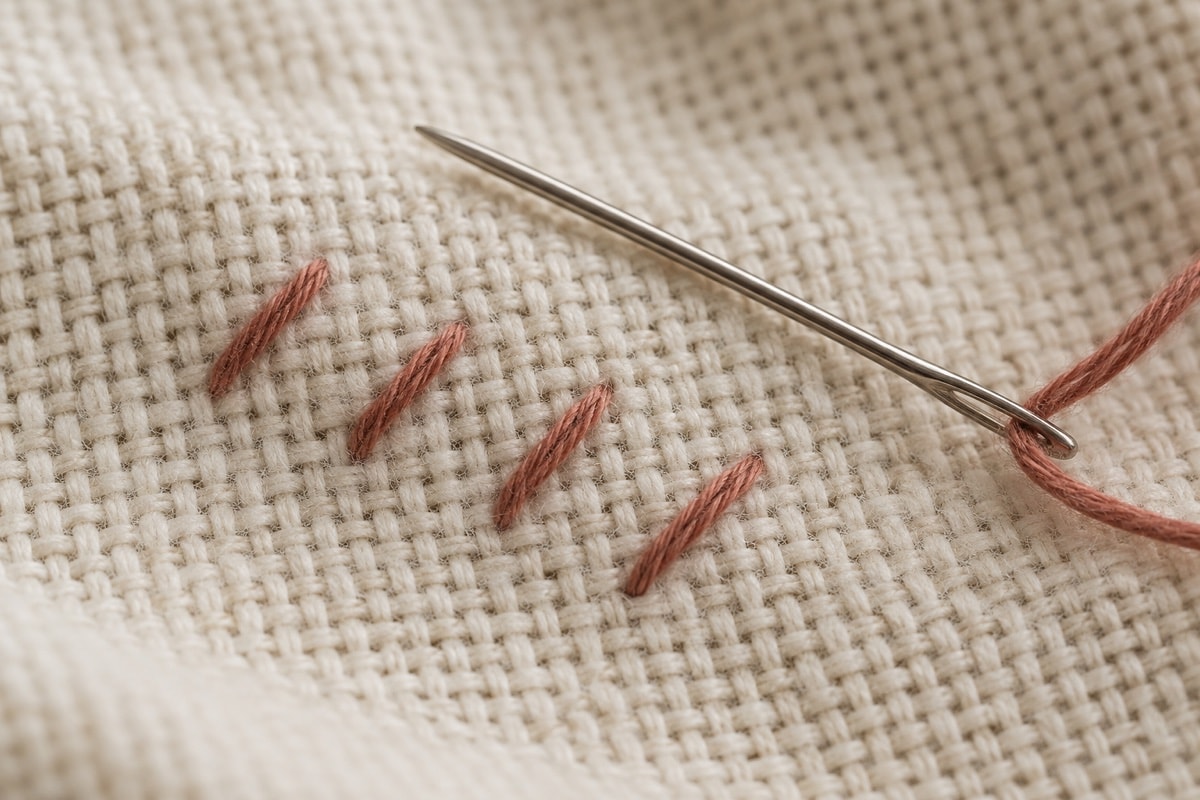
Counted cross-stitch is built from small diagonal stitches placed on a regular fabric grid. The basic movement is simple, but a few consistent habits make the surface smooth and the counting dependable. This guide covers the full cross first, then explains partial stitches, outlining, wrapped knots and the practical order in which they are usually worked.
Prepare the fabric and floss
Begin by confirming the fabric count, the direction of the weave and the amount of margin around the intended stitched area. Protect edges from fraying with a temporary overcast stitch or another removable edge finish. Wash and dry hands before handling pale fabric, and keep food, hand cream and open drinks away from the work surface.
Cut a manageable working length of six-strand cotton floss and separate the number of strands needed. Pull one strand at a time from the cut length, then bring the selected strands back together. This reduces twisting and helps them lie beside one another. The guide to floss, strands and coverage explains how to test the result on the actual fabric.
Make a full cross stitch
Choose one direction for every lower diagonal and keep it throughout the piece. A common sequence brings the needle up at the lower left of a square and down at the upper right. The crossing leg then comes up at the lower right and goes down at the upper left. The exact starting corner matters less than the rule that all upper diagonals slant the same way.
For a horizontal row of one color, work the lower diagonals across the row, then return with the upper diagonals. For isolated stitches, complete each cross before moving to the next. Avoid carrying floss across a long empty distance on the back, because a dark carry can show through pale fabric and a long loose thread can catch during later stitching.
Count from stable landmarks
Use a center point, bold chart line or completed group as a landmark. Count squares rather than holes. When moving to a separate area, verify the position from a second direction before placing several stitches. A mistake found after one cross is a small correction; the same mistake repeated across a color block can shift every neighboring section.
On evenweave or linen worked over two threads, count the thread intersections carefully. Each chart square spans two threads in each direction. A regular rhythm helps: hole, thread, hole. The fabric count and size guide explains how this changes effective stitches per inch.
Place quarter and three-quarter stitches
A quarter stitch travels from a corner toward the center of a fabric square. A three-quarter stitch combines that short diagonal with a full diagonal crossing the square. These partial stitches soften a diagonal edge and allow two colors to share a chart square. Follow the chart key for color and strand count, and use a needle with a sharp enough point to enter the center of the square when the fabric does not provide a central hole.
Work the partial stitches before an outline that crosses them. The outline can then define the edge cleanly and cover small variations where the diagonal segments meet.
Add backstitch as a continuous line
Backstitch creates a line by placing short straight stitches end to end. Bring the needle up one segment ahead, then return to the end of the previous segment. Continue so that adjacent stitches meet without overlapping. The path can travel horizontally, vertically or diagonally, and individual segments may span one or more grid units when the chart indicates a longer line.
Work most outlining after the cross stitches. Keep its tension relaxed enough that the line rests on the stitched surface without cutting into it. At a corner, end one segment exactly at the turning point before beginning the next direction.
Form a small wrapped knot
Bring the needle up at the marked position, hold the working thread gently, wrap it around the needle once and return the point close to the original hole rather than into the identical opening. Maintain the wrap near the fabric while drawing the thread through slowly. The knot should sit on the surface as a small accent, not pull through to the back.
Keep the back orderly
Secure a beginning tail under the first several stitches, use a loop start when the strand arrangement permits, or hold a temporary tail away from the active area and weave it in later. To finish, run the working thread under several nearby stitches on the back and trim close. The starting and finishing guide compares these methods in detail.
Finish one stage before the next
A useful sequence is full crosses, partial stitches, outlines and surface accents. Pause occasionally to let the fabric relax and check that the upper diagonals remain consistent. When the stitching is complete, inspect both sides for loose tails before following the washing, blocking and mounting guide. Good counted work is not defined by a perfectly uniform back; it is defined by secure threads, accurate placement and an even front.