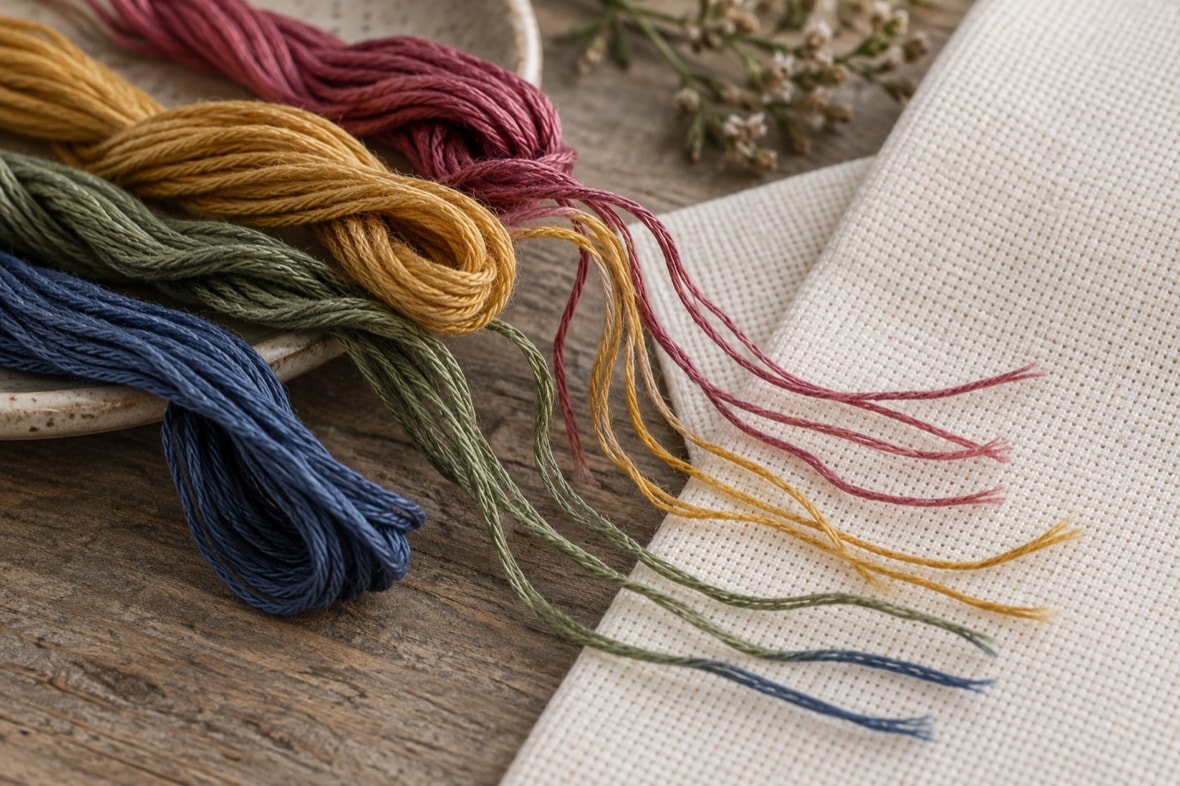
Six-strand cotton floss lets a stitcher adjust the thickness of the stitched surface without changing the chart. The strand count, fabric count and individual tension work together. There is no single correct amount of coverage: some pieces benefit from visible fabric between the crosses, while others call for a fuller field of color.
Separate strands before recombining them
Cut a working length that can pass through the fabric repeatedly without becoming dull or fuzzy. Hold the cut bundle loosely and pull one strand at a time from the end, allowing the remaining strands to gather without tangling. Recombine only the number needed for the test. Separating first helps parallel strands settle beside one another instead of behaving like a twisted cord.
Keep the tails even before threading the needle. If one strand becomes shorter during stitching, let the needle hang occasionally so the floss can untwist. A smooth working length produces flatter upper diagonals and clearer edges.
Match strand count to the ground
Lower-count fabric has larger spaces and often needs more fiber to look visually balanced. Higher-count fabric has smaller spaces and may look crowded with the same number of strands. The relationship changes again when an evenweave is worked over two threads. Treat any written suggestion as a starting point, then stitch a sample using the real fabric and the darkest intended floss.
Dark floss on light fabric reveals gaps most clearly, while light floss on dark fabric reveals how much background shows around the stitch. Test both if the design uses strong contrast. Examine the sample at ordinary viewing distance as well as close up; a small opening that dominates under magnification may disappear in the finished piece.
Judge coverage without overtightening
Adding tension is not a substitute for choosing an appropriate strand count. Pulling hard narrows the floss, enlarges the fabric holes and can create a puckered surface. A well-seated cross rests on top of the ground. Its legs meet the corners cleanly, and the background weave remains square.
If the surface looks thin, test an additional strand or a lower fabric count. If it looks bulky, reduce the strand count or move to a finer ground. Change one variable at a time so the sample shows which choice made the difference.
Keep adjacent strands smooth
A laying motion can improve flatness. After bringing the needle to the front, guide the strands with the needle tip or a separate blunt tool so they spread side by side before the stitch is tightened. This is most useful on long diagonal legs and areas where the floss has begun to twist.
Stitch direction also affects the way light crosses a color block. When every upper leg slants the same way, the surface reflects light more evenly. Review the full-cross sequence before evaluating coverage, because crossed legs worked in mixed directions can look irregular even when the strand count is suitable.
Manage color changes cleanly
Assign each floss group a simple storage loop or unlabeled card position while working, and keep loose cut lengths from mixing. Follow the chart's key for identification, but avoid relying on color alone when shades are close. End one color securely before traveling a long distance to another area.
Do not publish or depend on a universal color-number table for a handmade planning exercise. A personal key needs only the colors used in that motif and distinct symbols for each. The chart-reading guide explains how to build such a compact key.
When daylight is weak, keep similar shades attached to their labeled positions until each working length is needed. Comparing two loose ends against different backgrounds can make them look less alike than they are. Place both on the same plain cloth and read the chart symbol before threading the needle. If their identities remain uncertain, set those lengths aside and choose a color whose place in the key is clear.
For a motif with several close shades, give every cut length a temporary home beside its own symbol. Return unused lengths there before opening the next group. Do not make a fresh decision from the appearance of a partly stitched area: stitch direction and nearby colors can change how a shade looks. Follow the written key.
Record the successful sample
Keep a short note with the fabric count, whether the stitches pass over one or two threads, the number of floss strands and any change made after testing. A small retained swatch is even more useful because it preserves the true texture. This record makes it possible to resume a paused piece with the same coverage and to compare later experiments without guessing.
Coverage is ultimately a visual decision supported by consistent technique. Separate the strands, relax the tension, test on the actual ground and choose the balance that lets both the thread and the fabric do their work.