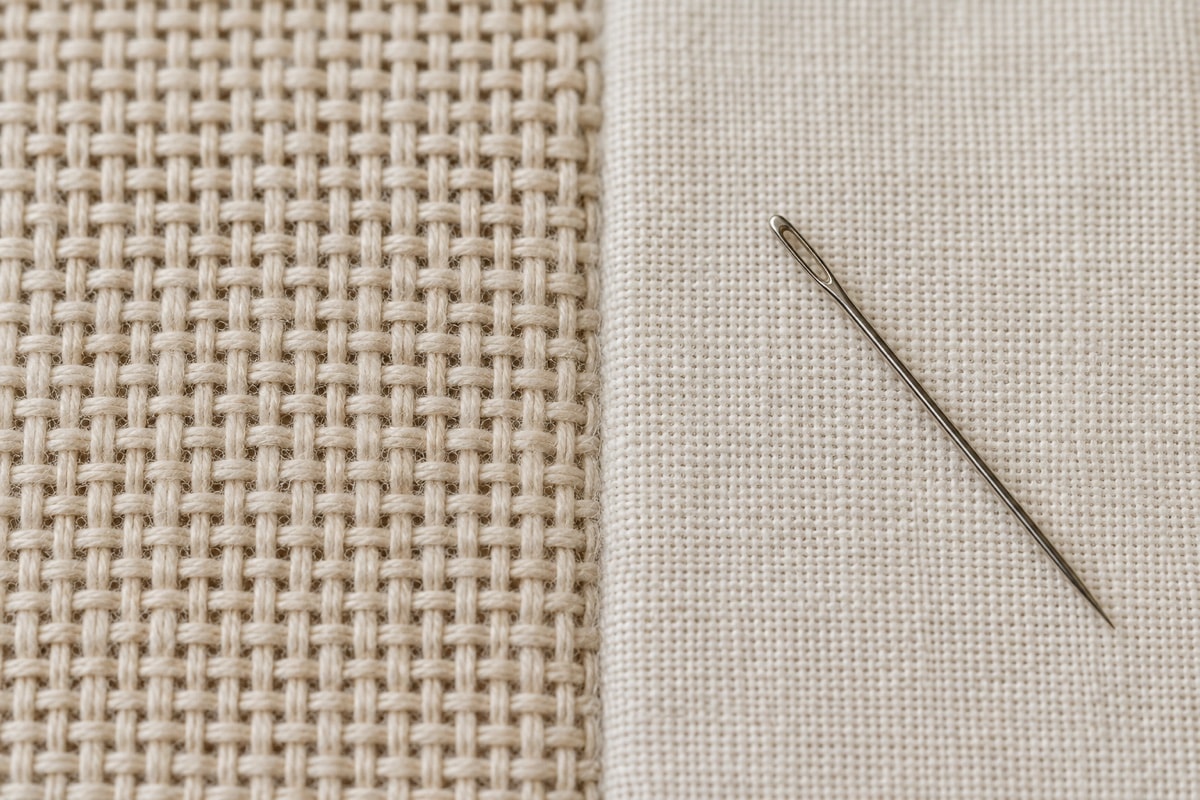
Fabric count tells a stitcher how many thread groups or blocks occur in one inch. It controls the scale of a counted design: the same chart becomes smaller on a higher count and larger on a lower count. Understanding that relationship before cutting fabric prevents cramped margins and makes it easier to compare the visual density of different grounds.
Know what the count measures
On blockweave fabric, the count usually describes the number of visible blocks per inch. One full cross is worked over one block. On an evenweave or linen ground, the count describes individual fabric threads. When the stitches are worked over two threads, the effective stitch count is half the fabric count. A 28-count fabric worked over two therefore behaves like 14 stitches per inch.
Count is a nominal measurement, and finishing or laundering can shift it slightly. When exact dimensions matter, measure several inches of the actual fabric and count the thread groups within that span. A larger sample gives a better average than measuring a single inch at the cut edge.
Use the basic size formula
Divide the design's stitch width by the number of stitches per inch. Do the same for height. A design 84 stitches wide on 14-count fabric measures 6 inches across. If it is 70 stitches high, its stitched height is 5 inches. These are the dimensions of the stitched area, not the dimensions of the fabric cut.
For fabric worked over two threads, first convert to effective stitches per inch. A 90-stitch width on 30-count evenweave worked over two uses 15 stitches per inch, so the design will measure 6 inches. If the quotient includes a fraction, retain it through the calculation and round the fabric cut upward at the end.
Add margins for finishing
Margins provide room for handling, squaring and mounting. Decide how the piece is likely to be finished, then add the chosen margin to every side. A 6-by-5-inch stitched area with 3 inches on each side needs a fabric cut 12 inches wide by 11 inches high. This arithmetic adds two horizontal margins and two vertical margins.
When the final treatment is undecided, a generous margin preserves options. A narrow edge may be enough for a small sewn object but not for a laced mount. Mark the intended stitched boundary with removable basting rather than trimming the fabric early.
Center the design on the cut
Fold the fabric lightly in half lengthwise and widthwise to find its center. Compare that point with the center arrows on the chart. If the design has an even number of stitches, the chart center may fall between four squares. In that case, note which adjacent square receives the first stitch and keep the orientation consistent.
A border can be planned from a measured corner instead of the center, but its outer dimensions still need to be checked. Baste the horizontal and vertical center lines or a simple working rectangle when several separate motifs must align.
Make a reusable worksheet
- Record chart width and height in stitches.
- Record fabric count and whether the design is worked over one or two threads.
- Calculate effective stitches per inch.
- Divide stitch width and height by that effective count.
- Add twice the chosen side margin to each dimension.
- Round the cut upward and verify the calculation before trimming.
Keep the worksheet with notes about strand count and test stitching. The companion guide to floss, strands and coverage explains why a higher fabric count may also require a different thread choice. For a first chart-planning exercise, return to reading a chart and planning a motif.
Check with a small stitched sample
Arithmetic establishes scale, while a sample shows texture. Stitch a block ten crosses wide, let the fabric relax and measure it without stretching. If that test differs noticeably from the nominal count, use the observed stitches-per-inch figure for the final estimate. The check is especially useful on soft linen, hand-dyed ground or fabric that has already been washed.
Finished-size planning is simple once the units stay separate: chart dimensions are stitches, count is stitches per inch, and margins are inches added after division. Keeping those units visible on the worksheet makes errors easy to catch.