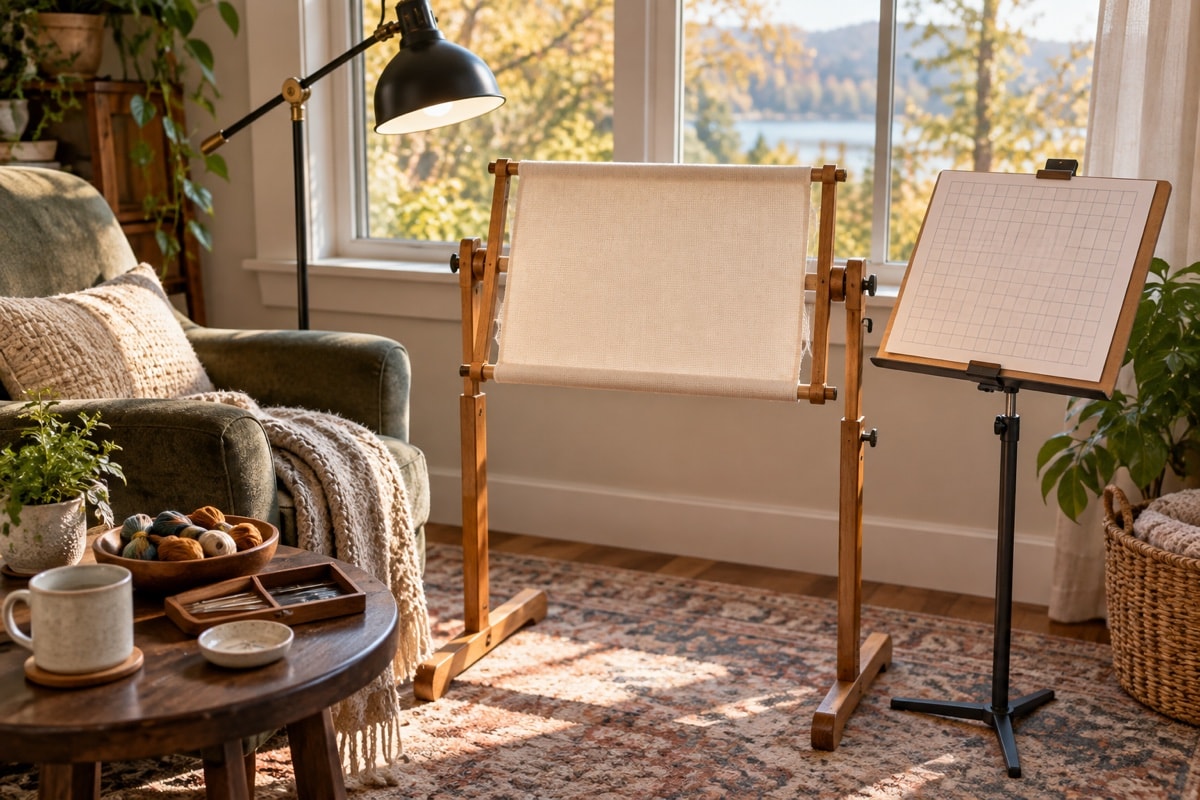
Counted cross-stitch asks the eyes to move between a small grid and an equally small fabric structure. A comfortable session begins with the arrangement of the work area: steady light, a supported seat, an easy working distance and a way to hold the fabric without constant squeezing. Small adjustments are most useful when made before the first thread is cut.
Place light across the work
Set the main light so it falls across the fabric without shining directly toward the eyes. Side light reveals the holes and surface texture; light from behind the working hand reduces a hard shadow over the needle. During daylight, position the chair beside rather than directly facing a bright window.
Keep the chart and fabric within the same pool of light. Large changes in brightness make every glance a fresh adjustment. A pale cloth beneath loose tools can improve contrast and makes a dropped needle easier to see.
Set seat and table height
Sit far enough back for the chair to support the body, with both feet resting steadily. Let the shoulders settle rather than lifting them toward the ears. The work surface should be high enough that the fabric can come toward the eyes without the head bending sharply forward.
Move the setup before adapting the body to an awkward angle. A folded plain cloth can steady a forearm on the table edge. If the chair is too high for the feet to rest easily, a firm low support can bring the surface closer.
Choose a clear working distance
Bring the fabric to a distance where the holes remain distinct without leaning in. Keep the chart nearby and at a similar distance. When the grid is very fine, a magnifying lens can enlarge the working area, but it should be positioned so the head and shoulders can stay relaxed.
Recheck the distance after changing from a hoop to a frame. A larger support may naturally sit farther away, and the light may need to move with it.
Compare hoop and floor stand
A handheld hoop is easy to turn and reposition, but one hand usually grips it throughout the session. Keep that grip light and rest the holding forearm when possible. Change the hoop's orientation occasionally so one finger does not carry the same edge for the entire row.
A floor stand holds the fabric independently and leaves both hands available for the needle path. Set its angle before threading the needle and place it close enough that neither shoulder reaches forward. The useful choice is the one that supports the fabric at the intended height with the least unnecessary holding.
Pause before comfort fades
Use short pauses at natural counting points: the end of a thread, the end of a color block or the completion of a ten-square section. Put the needle in a safe resting place, lower the hands and look across the room. A pause does not need to be long to interrupt a fixed position.
Session length varies with light, fabric count and the kind of stitch. Instead of following a rigid interval, notice when the chart is being reread, the grip has tightened or the shoulders no longer settle after a breath. That is a useful point to pause.
Move hands gently between threads
Open the hands, let the fingers spread naturally and close them again without force. Turn the palms upward and downward with the elbows resting near the body. Make a small, easy circle at each wrist, then let both hands hang loosely for a moment.
Cold hands can be warmed before stitching by holding them together or resting them around a warm, dry cloth. Begin with a few slow needle movements rather than pulling a tight row immediately.
Know when to stop for the day
Stop when the grip keeps tightening, the needle is repeatedly missed, counts are being lost or the setup no longer feels easy after a pause. Park the needle securely, protect the fabric and leave a short note about the next chart position. A clear stopping point makes the next session easier to begin.
For support choices and fabric tautness, continue to Hoops, Frames and Even Tension. For the sequence of individual stitches, use How to Cross Stitch.